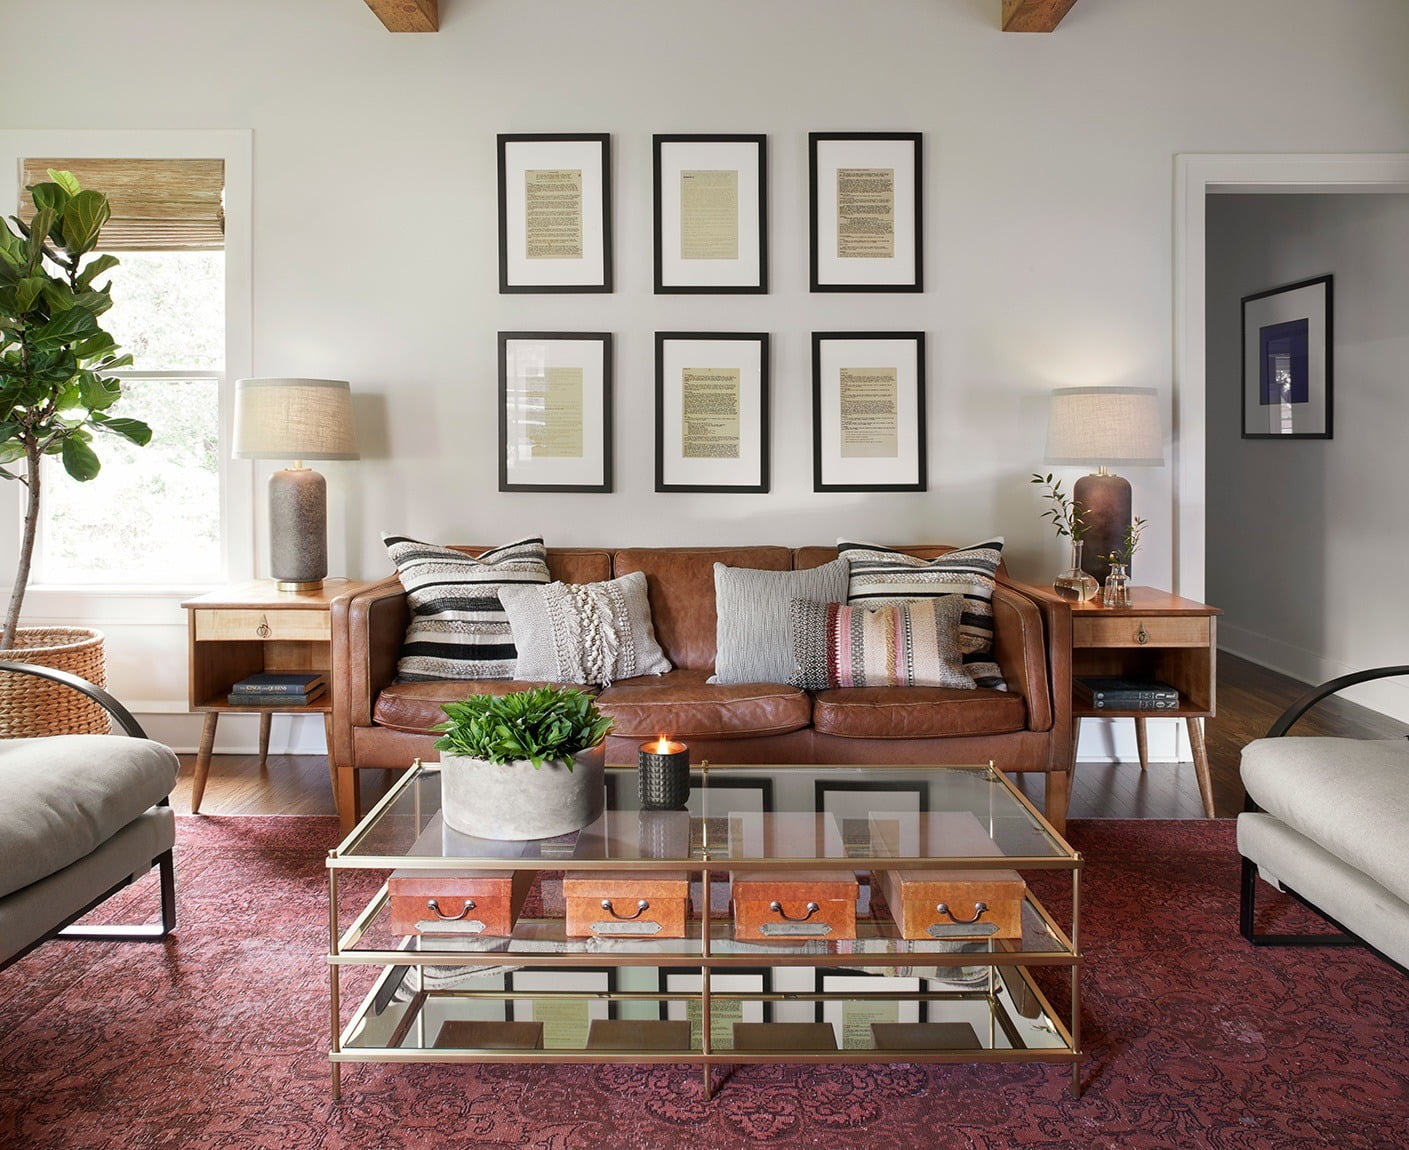
Gallery partitions are one of these headache-inducing domestic decor tendencies that can every so often make you more annoyed (and with more holes in your partitions) than you have been earlier than embarking on its story-telling enchantment. However, Joanna Gaines’s gallery wall tips — which had been shared on this month’s difficulty of Magnolia Journal — cast off all confusion and complications with advice on the way to master gallery wall format. Plus, she stocks what makes a gallery wall so special: The particular thing it brings to your house and owns family.
Need help designing a gallery wall for your area? While she will be able to’t assist you bodily hang the frames, Joanna Gaines gallery wall pointers can help you get started on a need-to-try decor fashion.
1. Give it your personal touch
Gallery partitions are probably brand new, but they may also be deeply non-public. “I’m a firm believer that you’re domestic must be a mirrored image of the people residing in it. A gallery wall of personal artwork makes an area come alive, and it’s one of the maximum literal ways your home can tell a story,” Joanna shared in Magnolia Journal. Whether it’s a sweet notice from your associate, a postcard out of your honeymoon, or a bit of your kid’s abstract artwork, those small yet impactful touches make gallery partitions more than a wall of snapshots.
2. Aim for timeless
If you select pieces that aren’t made through you or reminiscences from an experience, keep its timelessness in your thoughts and ensure that it meets your average style, no longer simply the current home decor trends. Joanna continues a vintage 57th street sign up her office gallery wall, and, to some, it has no means and can appear a bit latest. But, it reminds her of whilst she lived in New York City — on 57th Avenue, no much less — and suits her antique meets cutting-edge private aptitude.
3. Different shapes and sizes
Your gallery wall doesn’t need only characteristic rectangular photograph frames. According to Joanna Gaines’ gallery wall recommendations, including a ramification of shapes can deliver extra texture and depth. “Think of your personal as a showcase of you and your family — and the myriad of personalities, reports, and expressions represented in your own home,” she notes. “It can be a collection of nearly something that brings you joy — artwork, prints, architectural pieces, illustrations, typography, photos, e-book pages, sheet track, and letters, to name a few,” she provides. Also, she makes a factor that some gadgets may seem the least like wall art, but they make a huge announcement once up there on the show.
4. Add some measurement
An easy way to add a few measurements to your gallery wall is with the aid of “placing artwork on a shelf or ledge,” notes Joanna. Doing so offers it intensity, and texture and makes its experience less stagnant.
5. Consider what you’re interested in
When selecting a layout, think about what you’re most interested in. Do you like symmetry? Do you decide on a combination of spherical and pointed edges? Thinking approximately those hobbies will let you better determine if you need to go together with a completely symmetrical wall, use a mix of spherical and rectangle frames, upload measurements, or take an extra natural loose-flowing method.
6. Balance all of it out
The key to gallery wall planning is balance. In Joanna Gaines’ gallery wall tale, she indicates starting with your biggest portions as an anchor and then building around them. However, placement is the best way to tie everything together. Also, she says to look at the colors of every piece and choose the handiest two or 3 body shades and patterns to “acquire a more unified look.” Even in the case, that your gallery doesn’t have a lot of shapes, doing so can “add a cohesiveness, so the curation doesn’t seem random.”
7. Create a template
Lastly, the template must be taken into consideration. To keep away from useless holes within the wall, Joanna recommends plotting with paper templates. Here is her five-step guide on the way to create a gallery wall template:
Reach for a roll of kraft paper (wrapping paper additionally works!) to hint out each frame and item you propose to hang, then reduce to create the templates.
Measure out where the hanger lies on everybody and create a mark for accuracy. On the ground (or a flat surface), lay out the order you want everybody to exist. Once deciding on the association, use painter’s tape to stick the templates to the wall.
Feel free to move the templates around till you land on the exact formation. Then, hammer nails into the wall (the usage of the marking you made in step three).
Remove paper and cling your portions!